Easy DIY Peppermint Bath Bombs
My girls love bath bombs. We don't own a tub anymore so they have to travel to a grandparents house in order to enjoy one. I've been wanting to make my own because well.. one bath bomb at Marshalls is about 2.99, not to expensive but why pay that much when I can make my own that I know my girls will love with the scents and colors they like and all the ingredients I approve of? The recipe I used for these bath bombs came from my December Simply Earth Recipe Box. I am loving this months box, I've just about used every recipe I only have 2 more left to try.

For this recipe you will need:
1/4 Cup Milliard Citric Acid - 5 Pound - 100% Pure Food Grade NON-GMO
1/4 Cup Epsom Salt - I find mine at my local Walmart, just make sure its pure with no other ingredients.
1/2 Cup Argo Pure Corn Starch
1.5 Tablespoon Pure Body Naturals Cold Pressed Sweet Almond Oil
15 drops Simply Earth Peppermint Oil
Colors -Lilac, Peach and Seafoam
Some water in a spritzer bottle and your molds. My round mold I received in my December Simply Earth Box and the other from amazon here :

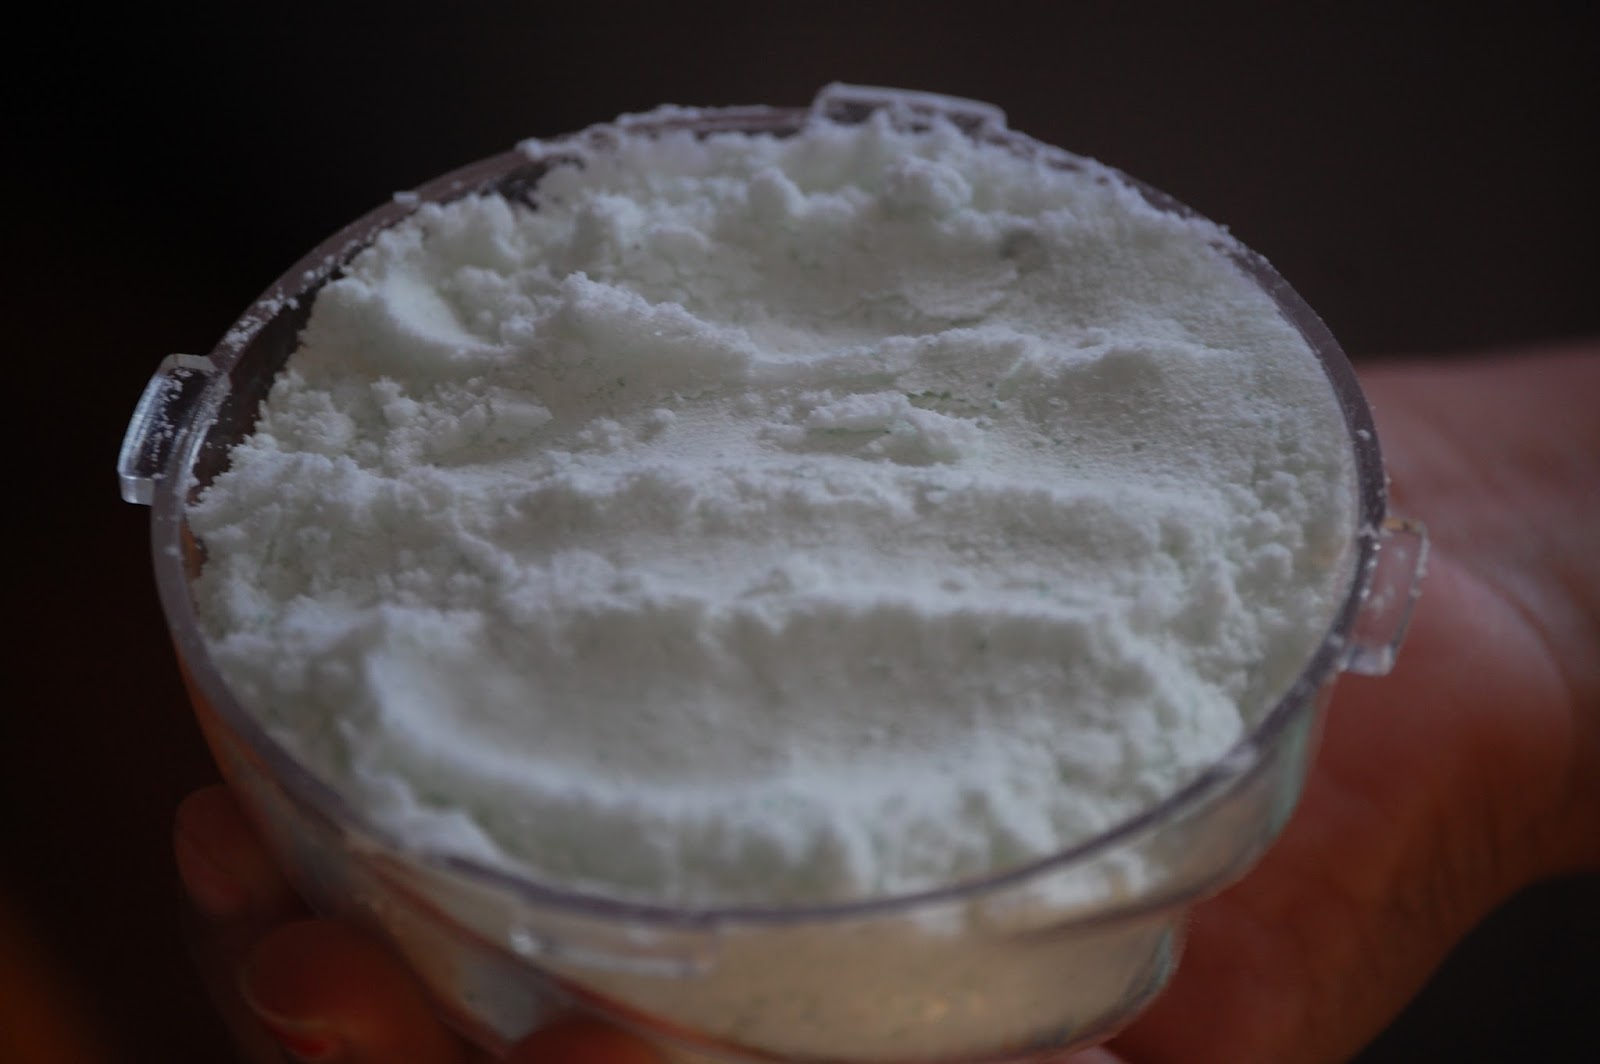
Combine all dry ingredients in a large bowl and mix well until combined.
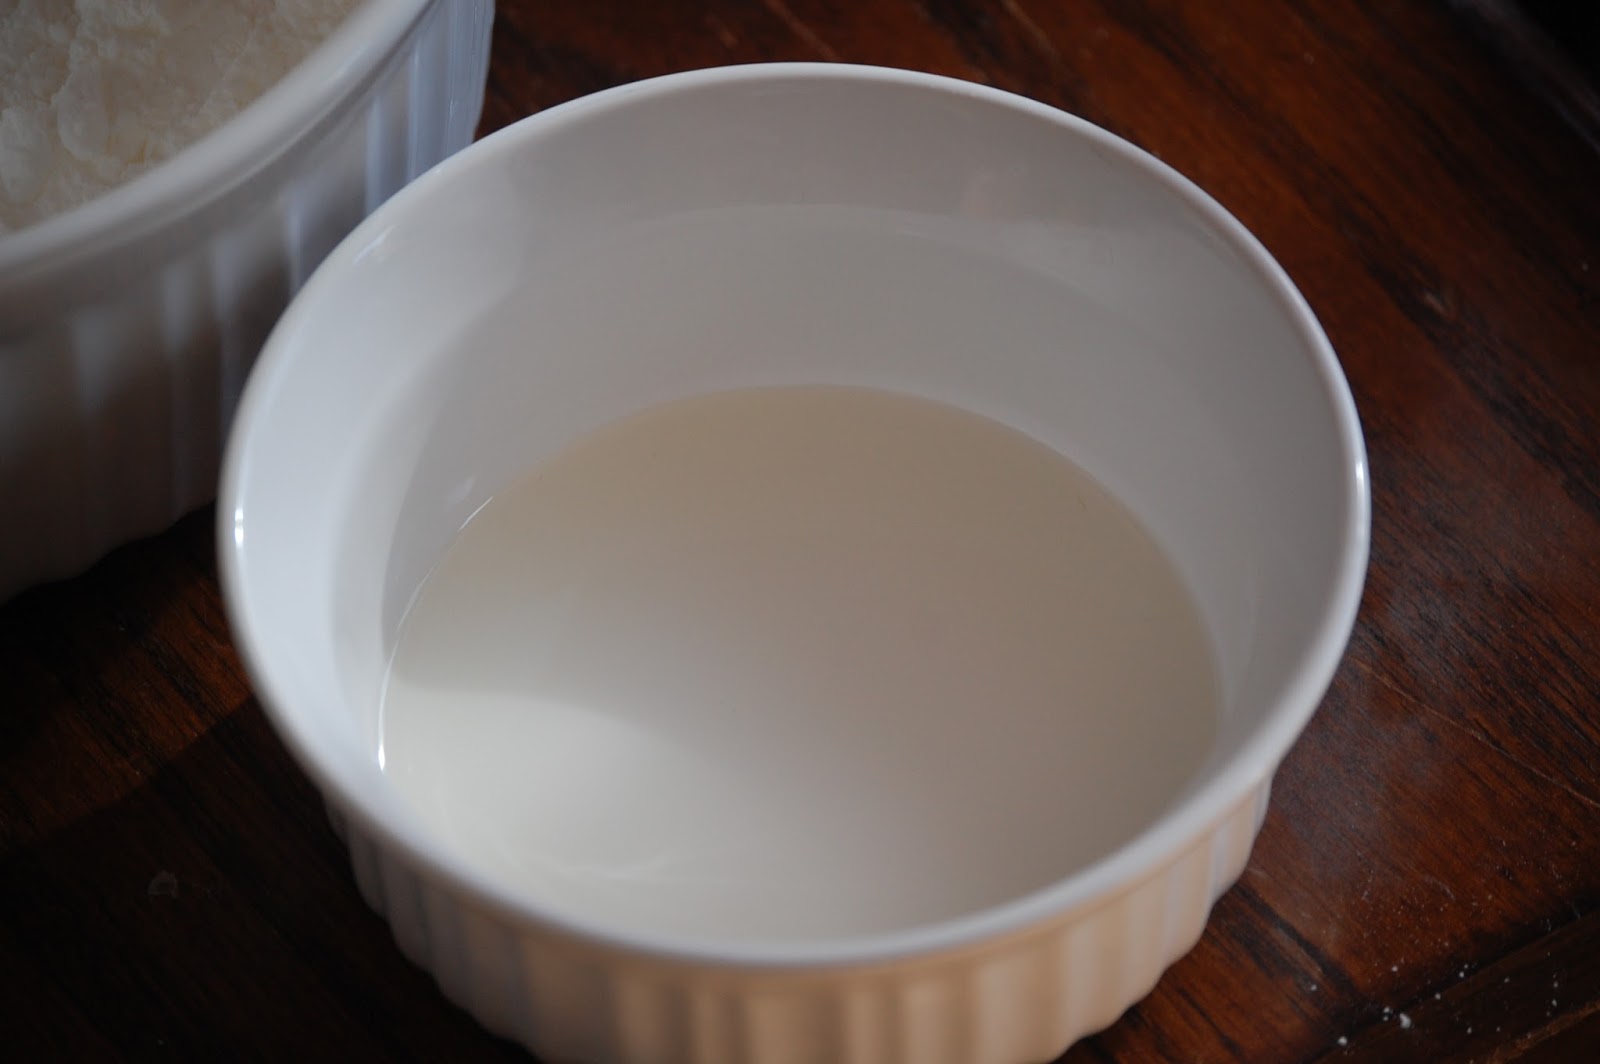
The instructions said to add almond oil and essential oil and water. It didn't state how much water so I just added the almond oil and peppermint oil. Then add the liquid ingredients to the dry ingredients a few drops at a time and mix with your hands.

I added about 4 drops of liquid color after I mixed the oils and spritzed water until the mixture could hold together without crumbling when squeezed.
Then I quickly stuffed as much of the mixture into my cupcake mold which happened to be all of it! I filled the top and the bottom and spritzed the top with water to activate it and then quickly attached them to ensure they would stay together.

Here's my finished mold. I wish it wasn't so large. This recipe is for 3 bath bombs, If I still had my garden tub this would be perfect for it. You will want to let your mold set for about 24-48 hours.

I decided to try the recipe again this time using my metal round mold that I received in my Recipe box. This time I added 4 spritz of water and the 4 drops of color to the oils before hand. It all mixed the same as the other way. I will probably do it this way from now on though.

Here are my 3 bath bombs made from the 2nd batch. You can't really tell but they are a pretty mint color and they smell lovely.

Here is what my finished cupcake mold looked like. I think I needed a little more to make it come out better. The bottom stuck a little so it came out a little messed up but it's huge and heavy.
These bath bombs were so easy to make. I really can't believe it's taken me so long to get around to making some. Next I will be trying shower bombs and toilet bombs.
This post contains affiliate links.
I was given a steep discount for the cupcake mold in exchange for my honest review.


0 comments